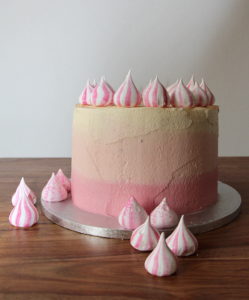
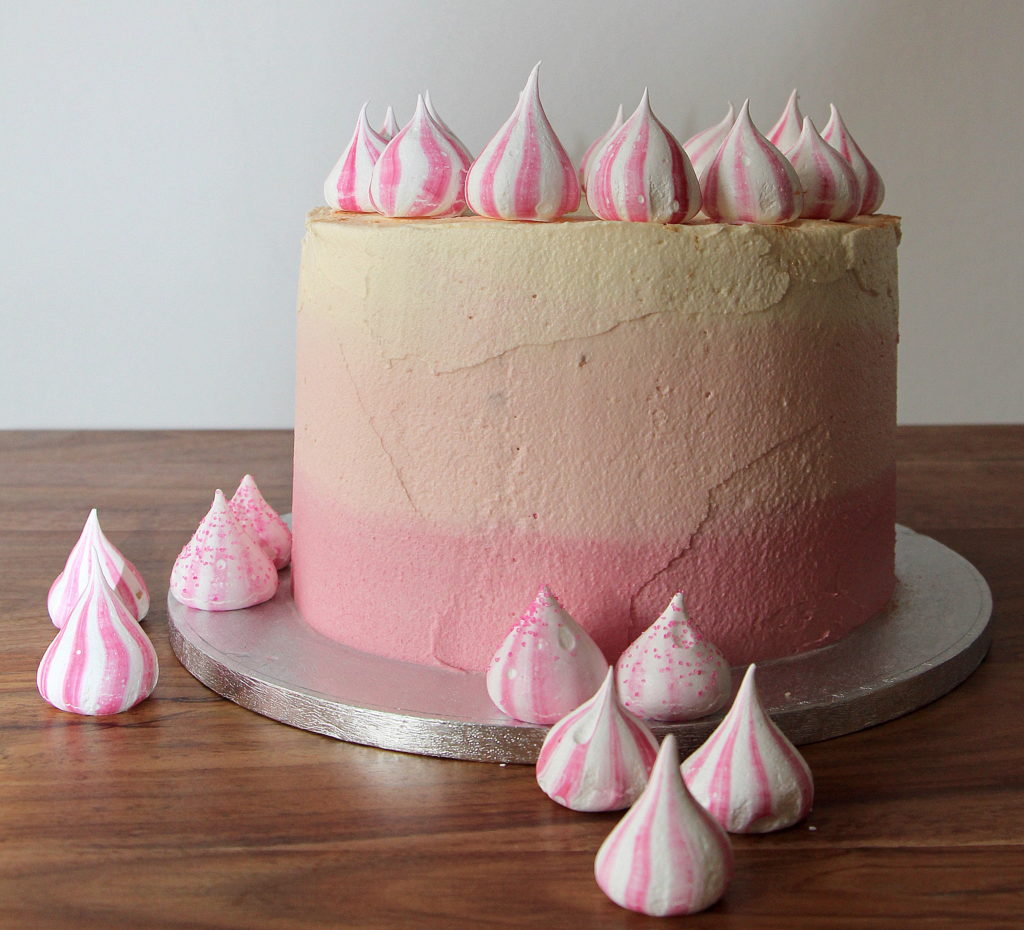
Special occasions call for an extraordinary cake. And when my friend Louisa invited me to her daughter’s baptism I knew this is the perfect opportunity to finally try to make an ombré cake. And because Leni-Carlota is a sweet little girl, of course, this ombré cake had to be pink – inside and outside.
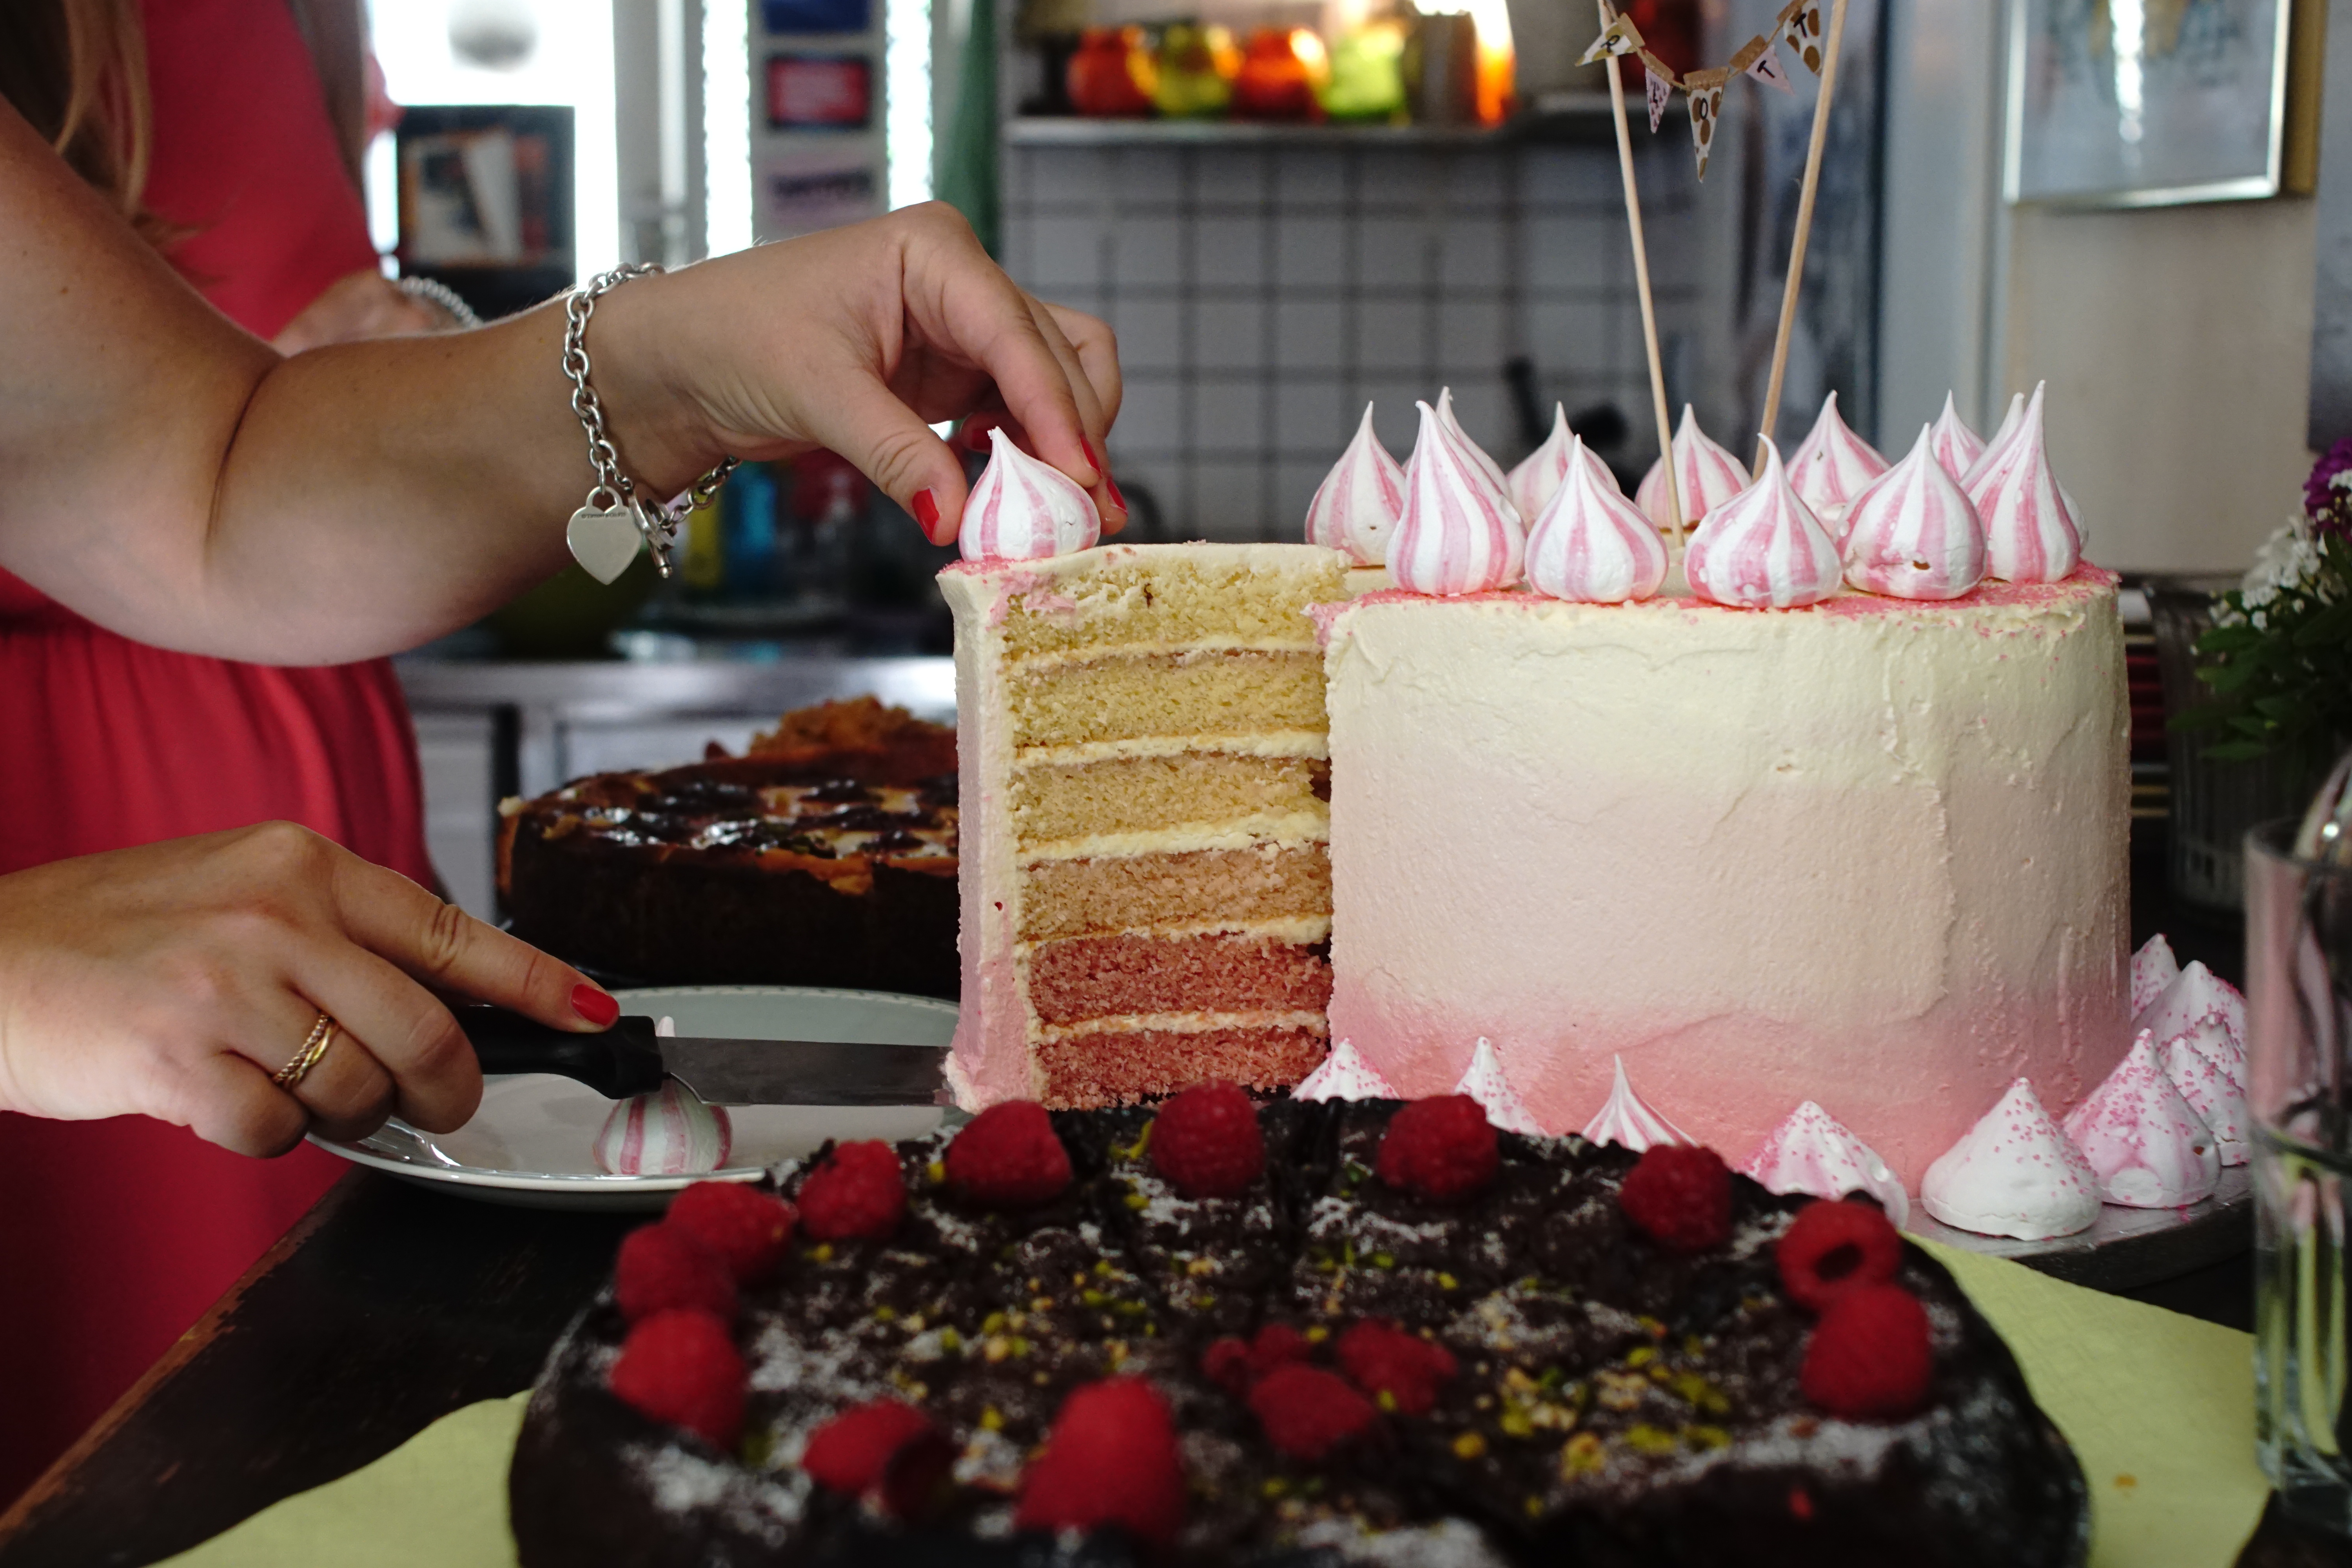
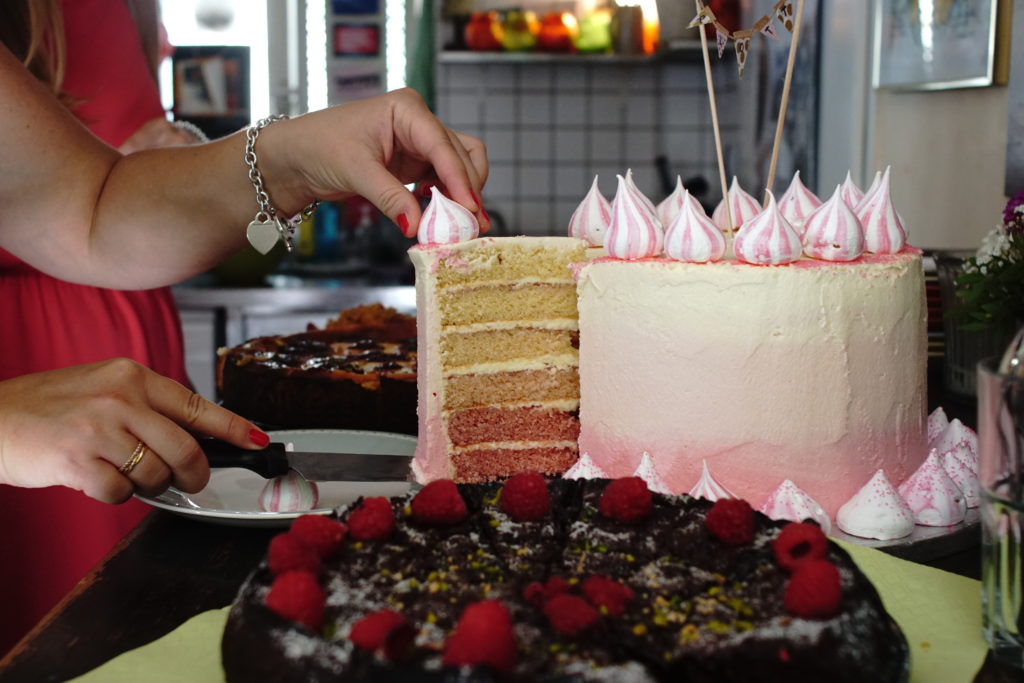
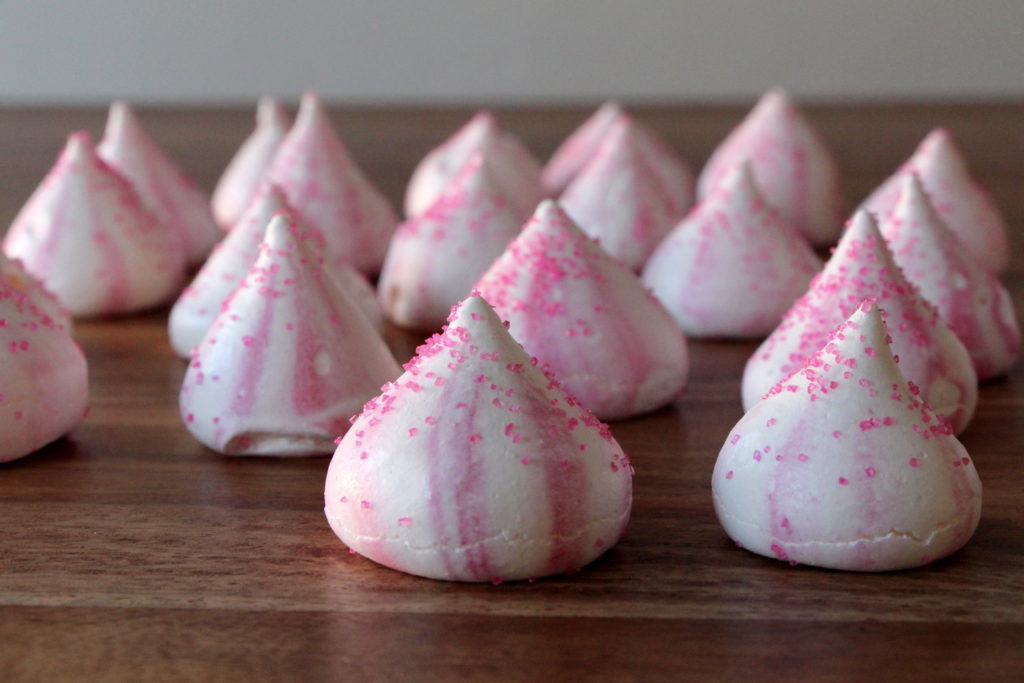
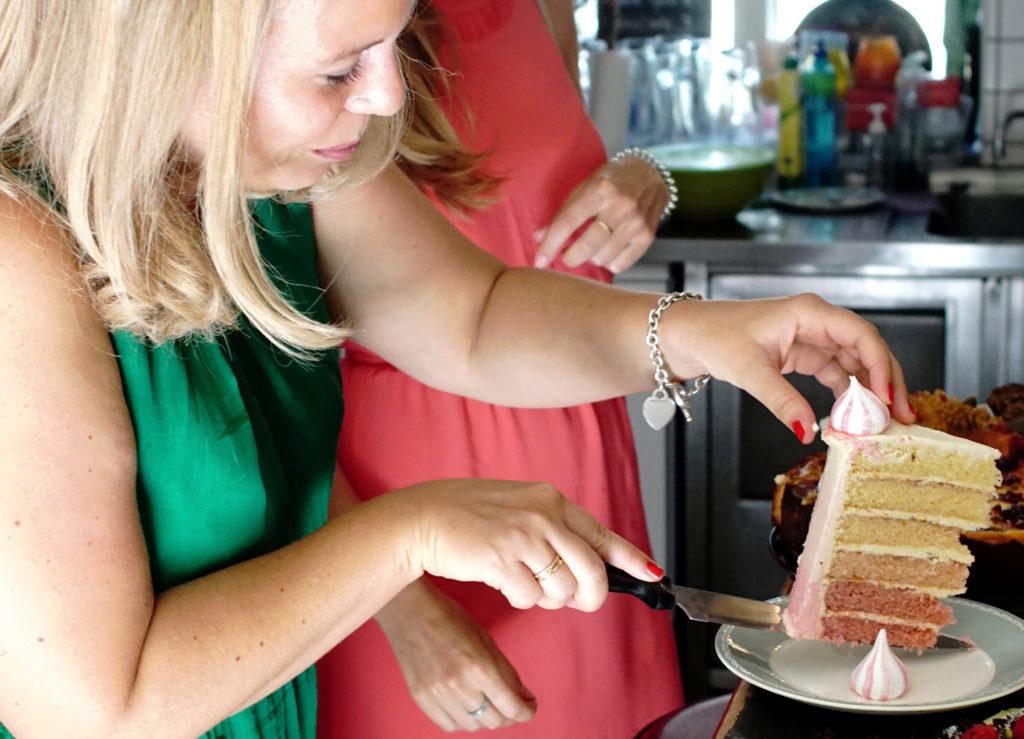
After several hours of watching youtube videos (check out Cupcake Jemma’s youtube channel) I knew how I wanted the cake to look like and was ready to go. It doesn’t only have the ombré effect outside but inside consists of layers of vanilla sponge colored with different shades of pink. And to top it all off, I added some pink-striped meringue kisses for decoration.
After several (6!) hours of mixing, baking, and stacking the cake was finished! Yes, it takes a while to bake all the different layers, and your kitchen including yourself will look like a pink buttery mess afterward, but it was so worth it! When I finally assembled the cake, I danced around in the kitchen like a 3-year old … and did it again when Louisa cut the cake at the party and you could see the pink layers turned out just perfectly.
I love baking for my family and friends – seeing them enjoying my baked goods is so rewarding and makes me incredibly happy.
If you have a special occasion coming up don’t be afraid and try this – everyone will be impressed!
I have to say that some more advanced baking equipment like a turning table or a dough scraper makes your life easier, but you can totally do it without one.
One word on food coloring. I am not a fan of artificial additives, and I am using natural food coloring such as beet juice wherever I can. Nevertheless, for this kind of cake, I didn’t dare to make any substitutions just because I don’t think it would work since it would ruin the consistency of the cakes and the buttercream.
Have fun baking and don’t forget to tag me (@bakeandnourish #bakeandnourish) when making your ombré cake.
Love,
Marion
pink ombré cake
Ingredients
- For the cakes
- - 11 tablespoons milk
- - 2 teaspoons vanilla extract
- - food coloring paste (don’t use the liquid one)
- - 1000g unsalted soft butter
- - 1000g white sugar
- - 12 free-range organic eggs
- - 1000g of pastry flour (type 405)
- - 40g of baking powder
- - 10g of salt
- For the butter cream
- - 500g butter
- - 1000g icing sugar
- - 6 tablespoons milk
- - 1 teaspoon vanilla extract
- - food coloring paste
Directions
- Step 1 Preheat the oven to 170°C (335°F), Grease as many cake tins (26cm) as you have (I had 2 but the more you have the faster you’ll get the cakes in and out the oven) and line it with a baking sheet.
- Step 2 Mix the milk with the vanilla extract in a small bowl and then divide it into six smaller bowls. Then add different amounts of the food coloring paste to the milk so you end up with six different shades of pink. I would recommend going heavy on the coloring because some of the colors dissolve when adding to the batter. Set aside.
- Step 3 In a big bowl (I recommend dividing the ingredients into half and do two batches as standard mixers are too small, and you don’t want the batter to sit around for too long before baking) beat the butter and sugar on high-speed for around 5-7 minutes. Then on medium speed, add one egg at a time. In a separate bowl, mix the flour, baking powder and salt and sift it into the batter in two stages, mixing on low-speed.
- Step 4 Weigh the batter, divide the total weight by six (or if you are doing two batches by three) and put the batter into six (or three) separate bowls and mix it with the colored milk. Fill the batter into the prepared tins and bake one by one (or if you have a big enough oven, bake two at a time) for 20 minutes. The cakes are ready when an inserted toothpick comes out clean. Remove the cakes from the tins after 10 minutes and let cool completely on a wire rack. Continue with the remaining batter until you have 6 different shaded cakes.
- Step 5 Once they are cooled, cut the top of the cakes with a cake cutter or a serrated knife so you have an even surface and no brownish top. Do the same with the sides, using a slightly smaller plate and cut around it.
- Step 6 For the buttercream, put the butter in your standing mixer and beat it on highest speed for 5-10 minutes. Be patient here – you want the butter to be really pale.
- Step 7 Sift the icing sugar and add it to the bowl in two stages. Start beating on low-speed (or you’ll have icing sugar all over your face), then beat on highest speed for another 5-10 minutes. Add the milk and vanilla extract and beat until incorporated.
- Step 8 To assemble the cake, put the darkest of your cakes on a turning table or on a cake stand. Spread a thin layer of buttercream on top, and continue the same way with the remaining cakes. Then “crumb coat” (this helps to lock in the crumbs so they don’t appear in the final coating of buttercream) the entire cake with a very thin layer of buttercream. Put the cake in the fridge and let it set for at least one hour.
- Step 9 Divide the remaining buttercream into three and add the food coloring paste so you have three different shades of pink. Now use the darkest color and spread it on the lower 3rd of the cake. This doesn’t have to be pretty just yet. Continue with the middle color above and finish with the white buttercream on the top of the cake. Then use a dough scraper to even out the entire cake.
- Step 10 Decorate with meringue kisses or use any other cake decoration you like.



1 thought on “Baking for friends … my first ever ombré cake”